Your cellar control panel is an integral part of the brewery as it helps regulate temperatures in your cellar tanks to achieve the best fermentation and conditioning results. It is not something to take lightly – having everything prepared before your equipment arrives can save time and money. It can also be crippling when your panel has issues, as without it, you cannot produce quality beer.
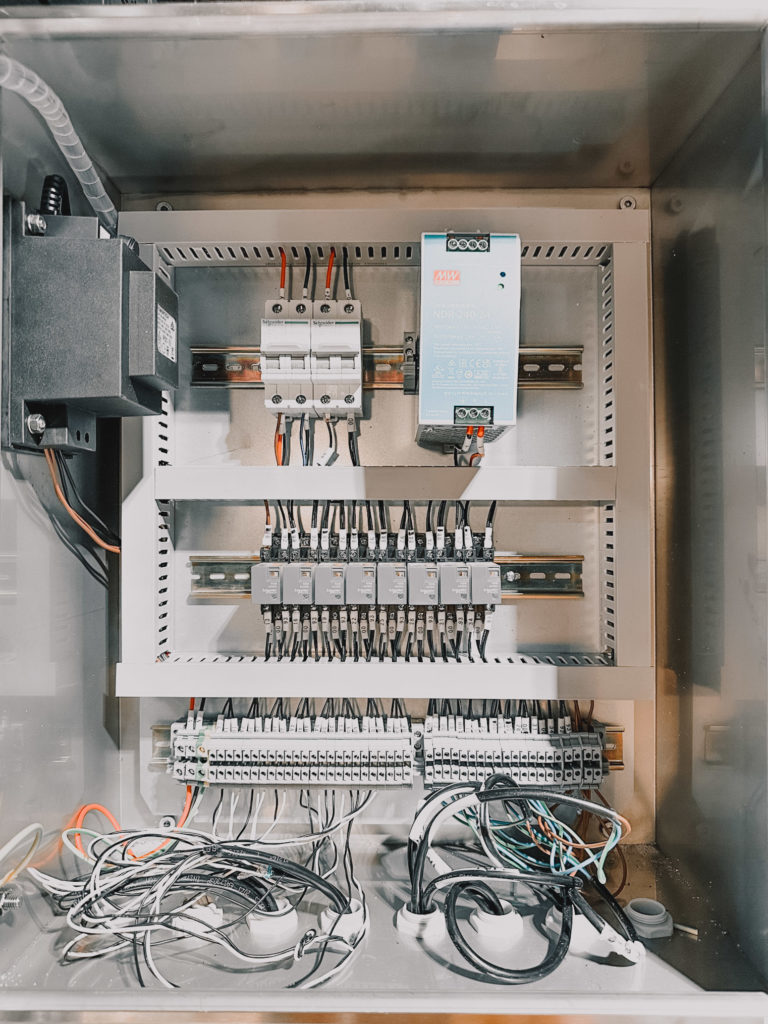
In a very basic system, and what you will find in a majority of craft breweries, the main components of the cellar control panel and auxiliary equipment are:
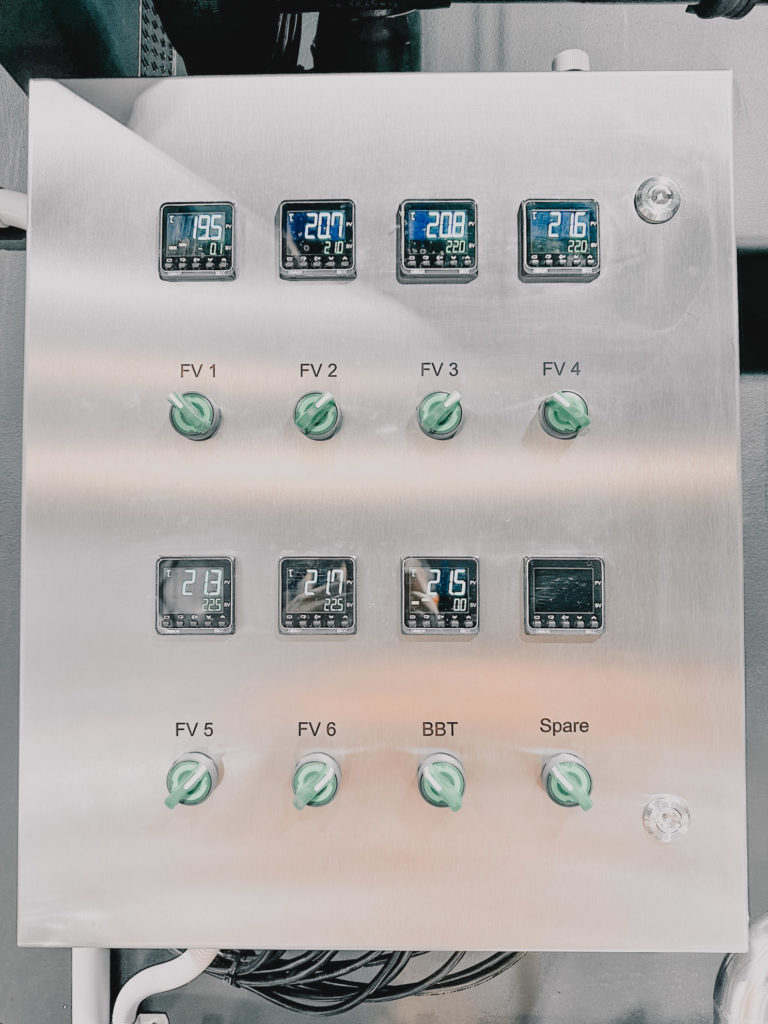
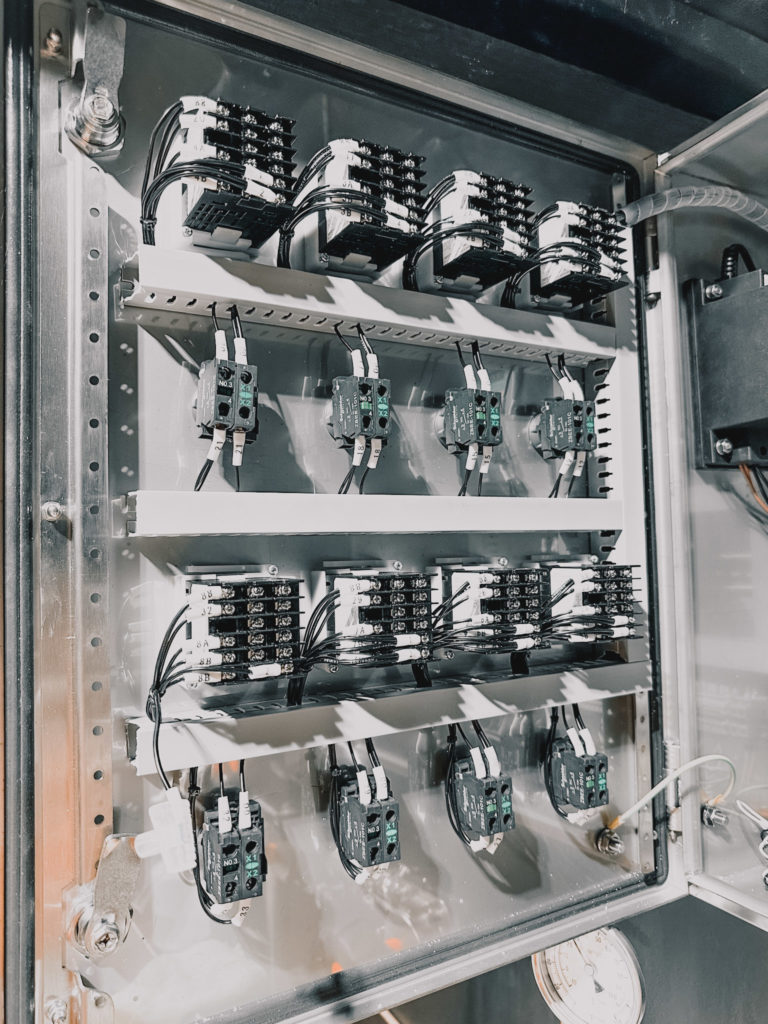
- Cellar Control Panel – This is typically a single-phase electrical control panel that has temperature controllers, buttons, and/or switches. They can come in a variety of materials and finishes, but ours are 304 stainless steel (18/8) and built to order including screen-printed labels and graphics.
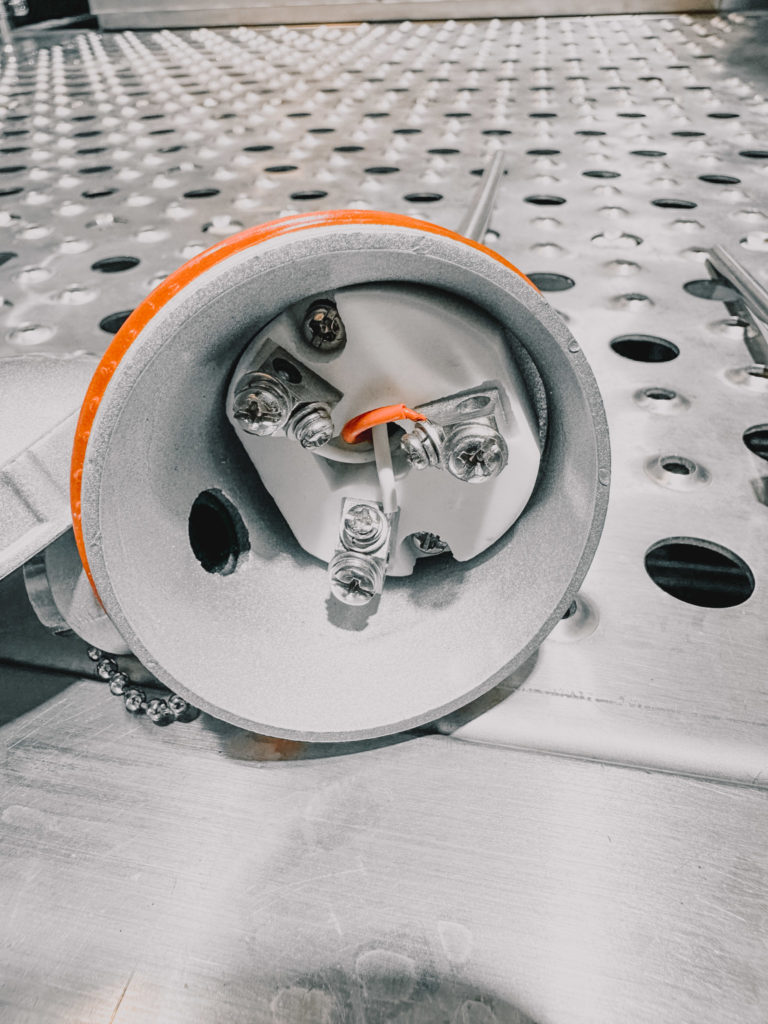
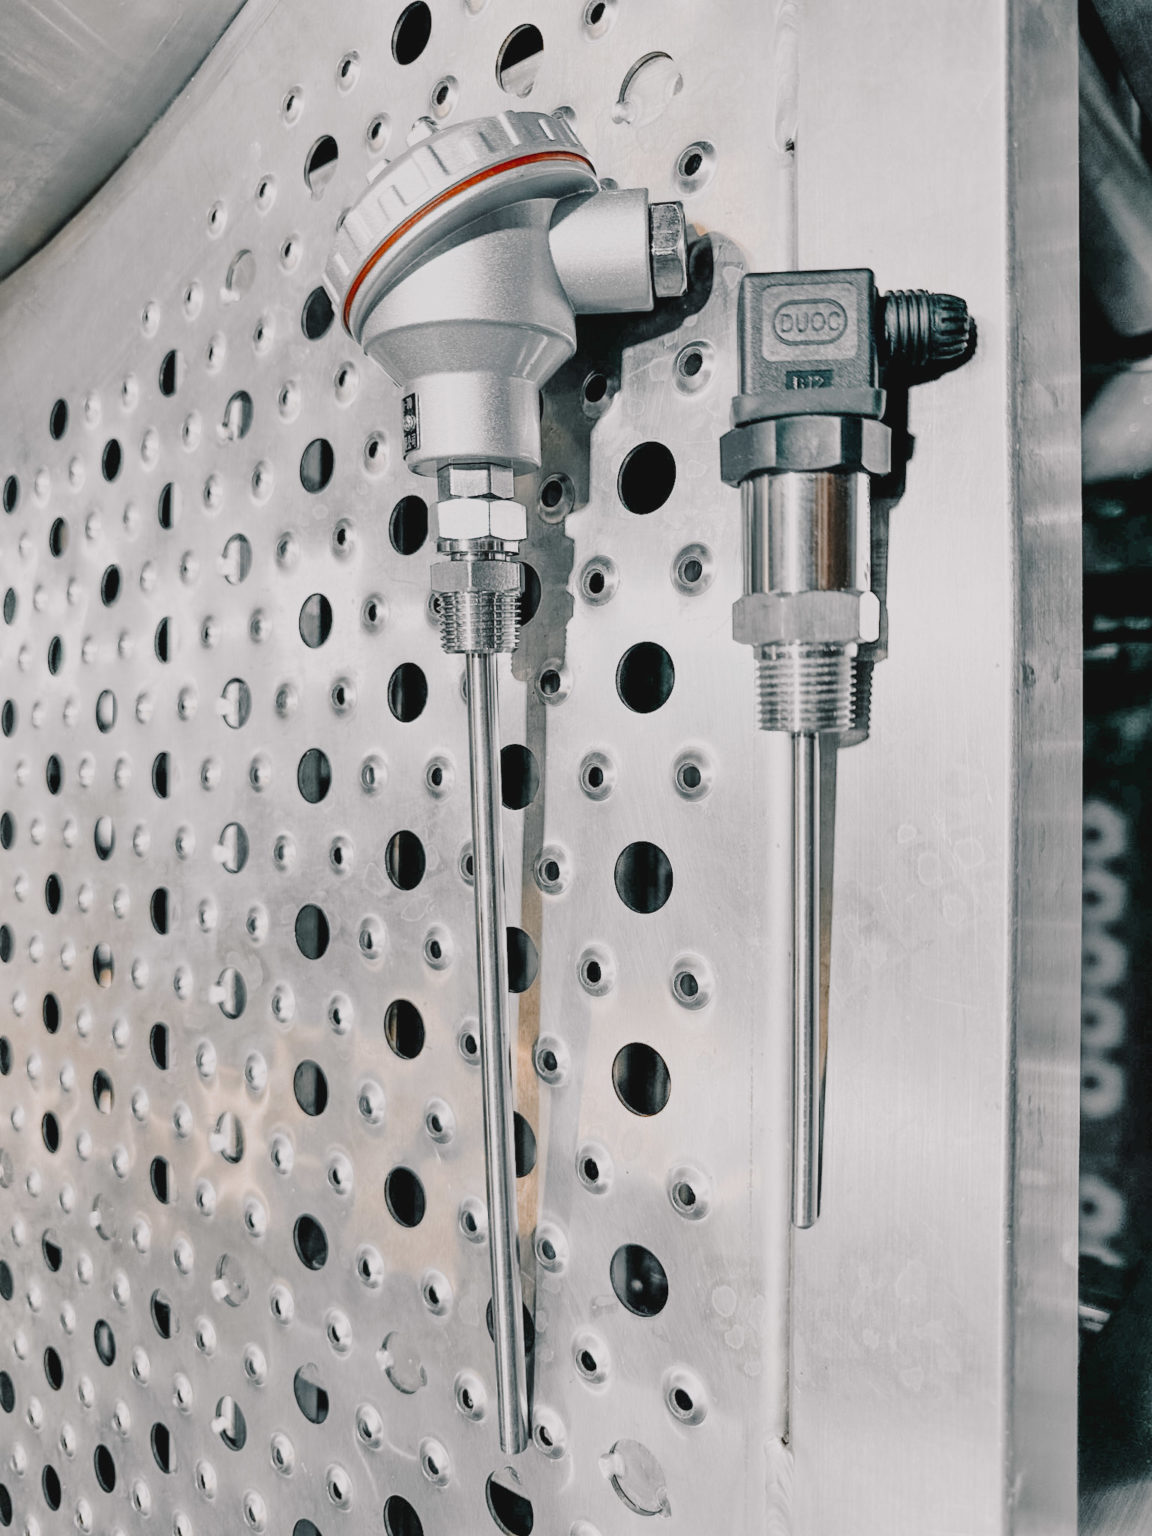
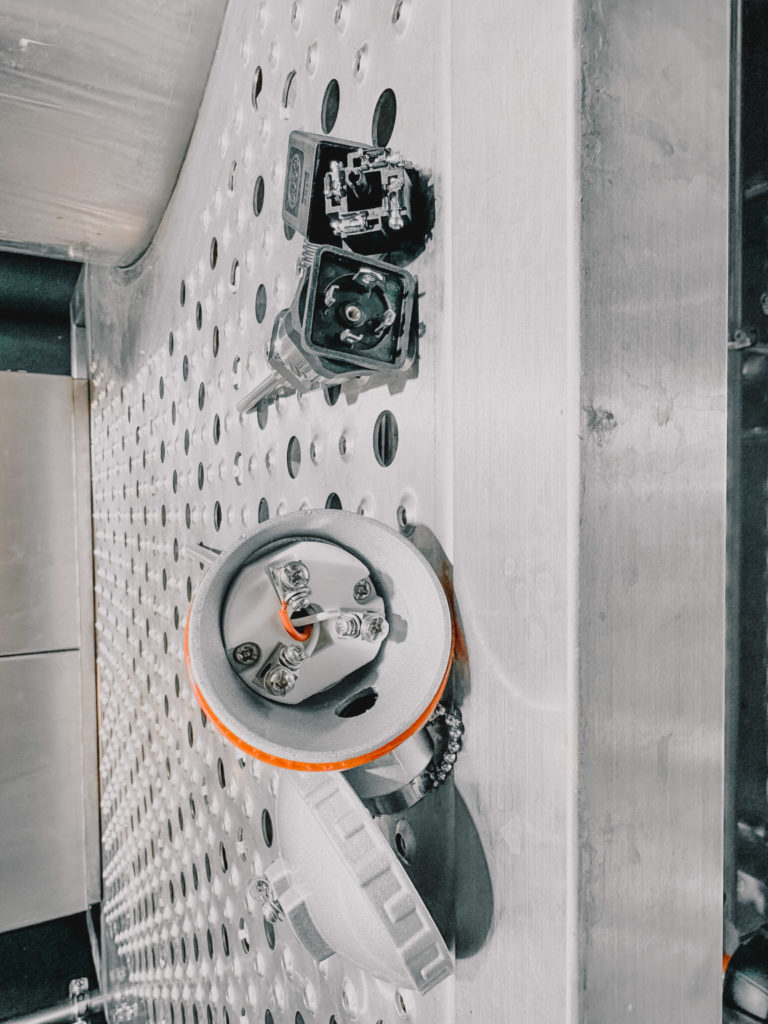
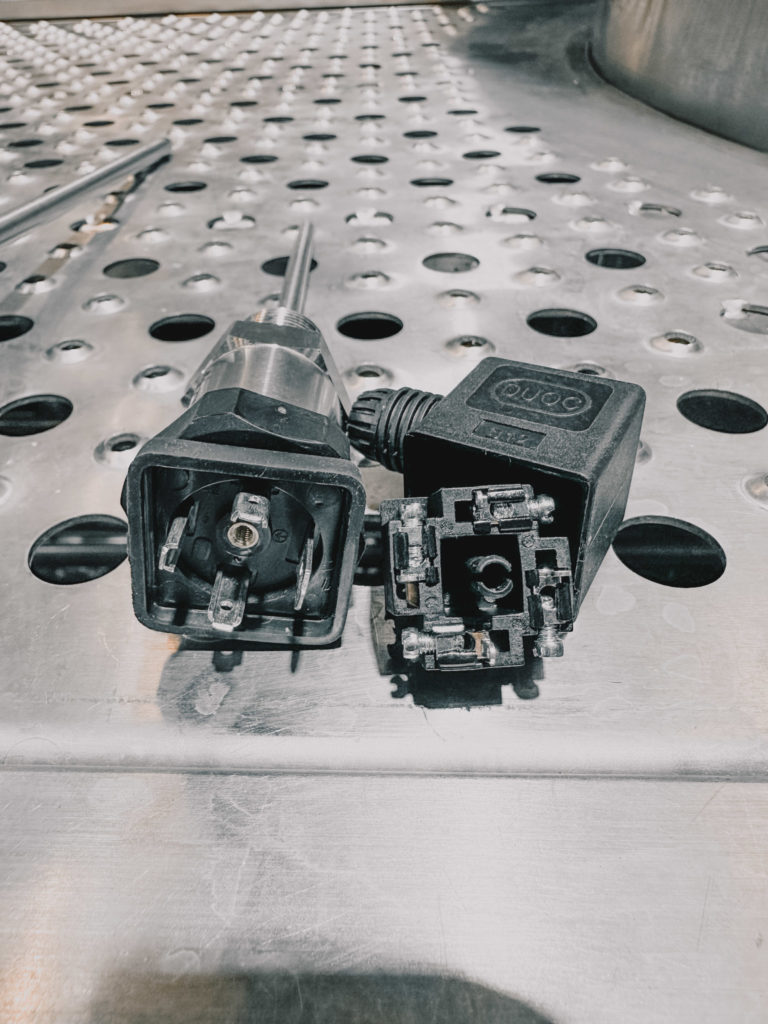
- RTD (Resistance Temperature Detector) – A sensor whose resistance changes as its temperature changes. The resistance increases as the temperature of the sensor increases. The resistance vs temperature relationship is well known and is repeatable over time. The most common RTD used in the brewing industry is called PT100 and comes in 2-wire and 3-wire flavors. We use a 3-wire RTD.
- Glycol Valves – A valve that opens and closes to allow glycol to run through the jackets of your tanks. Typically, you will see DC 24V solenoids being used, but we have started offering DC 24V motorized ball valves as they tend to save power and do not produce as much heat. These can also run via AC power, but we prefer using low voltage.
In this blog, we will go through the basic setup of a cellar control panel and the connection to the components mentioned above.
Installation Location
The best place for a cellar control panel is a central location, an entrance of the cellar, or where it is the easiest to access during the work day. The farther the control panel is away from the cellar, the more cables need to be run from each tank to the cellar, and the more time the brewer needs to spend walking back and forth. They are wall-mounted with wires coming into.
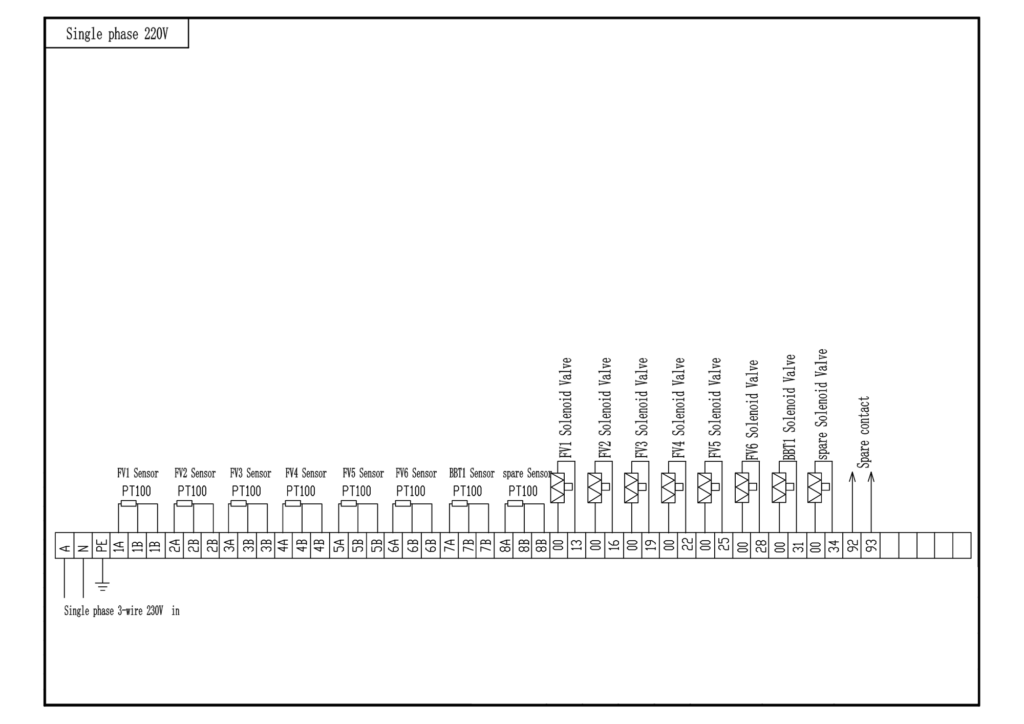
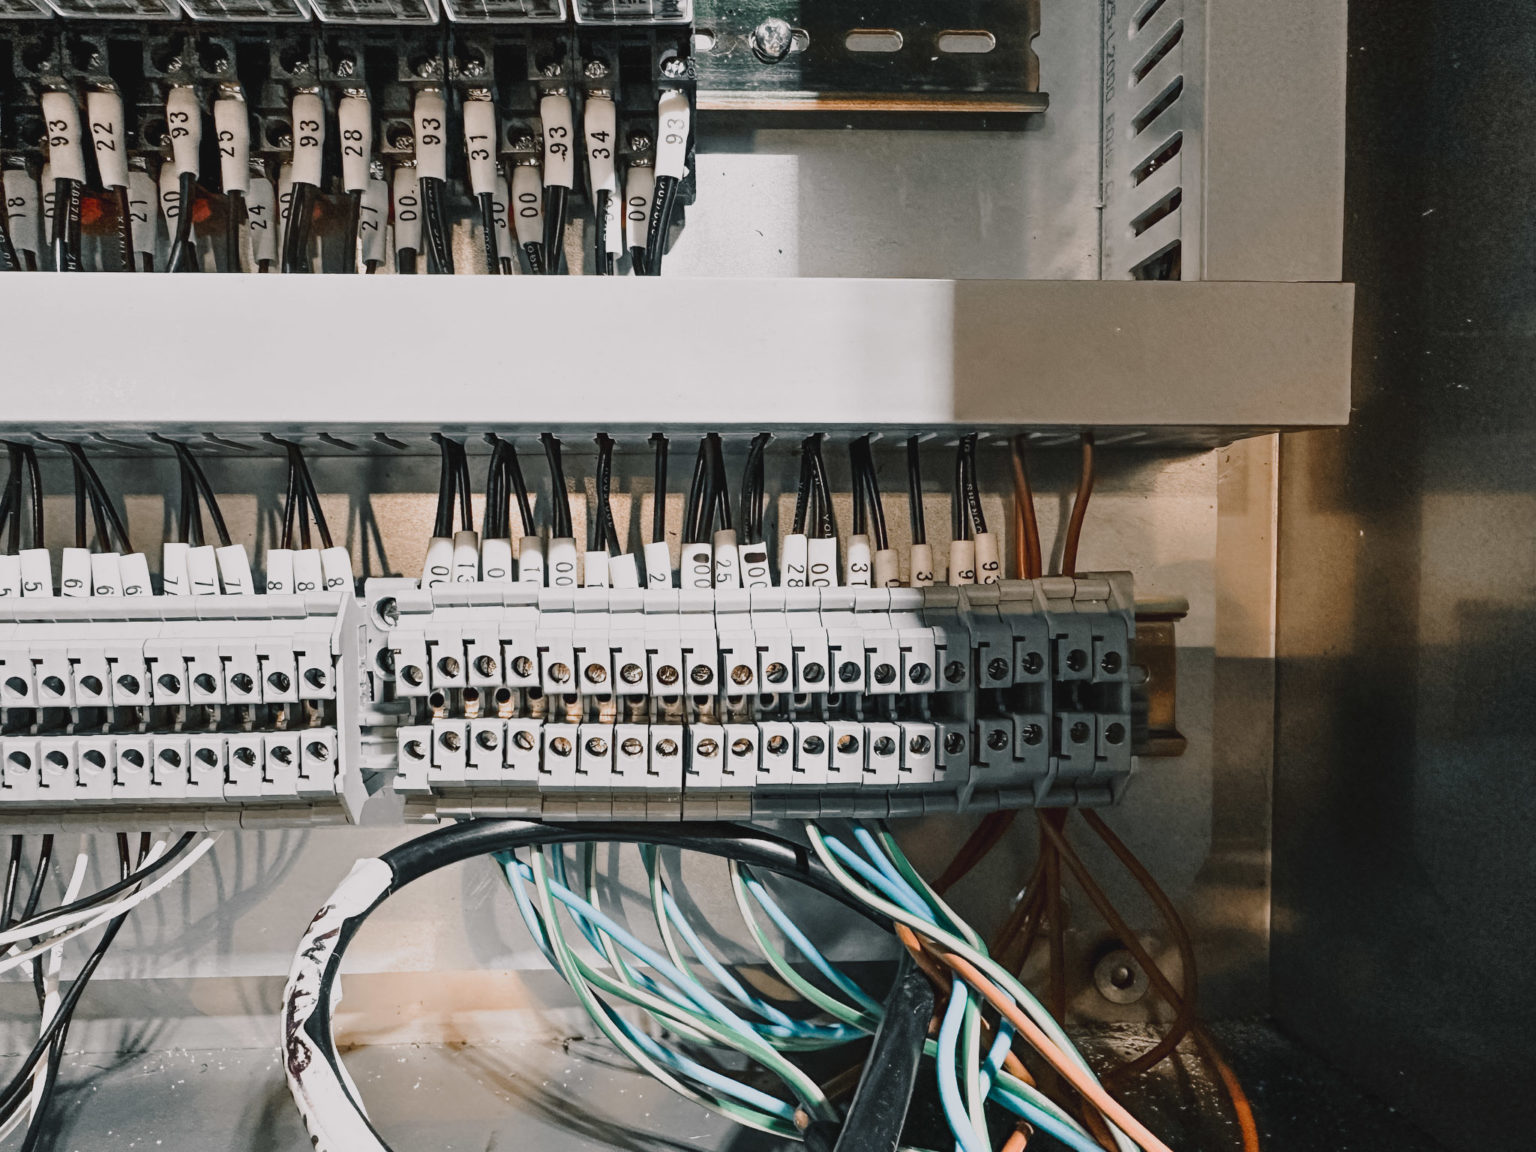
Electrical Connections
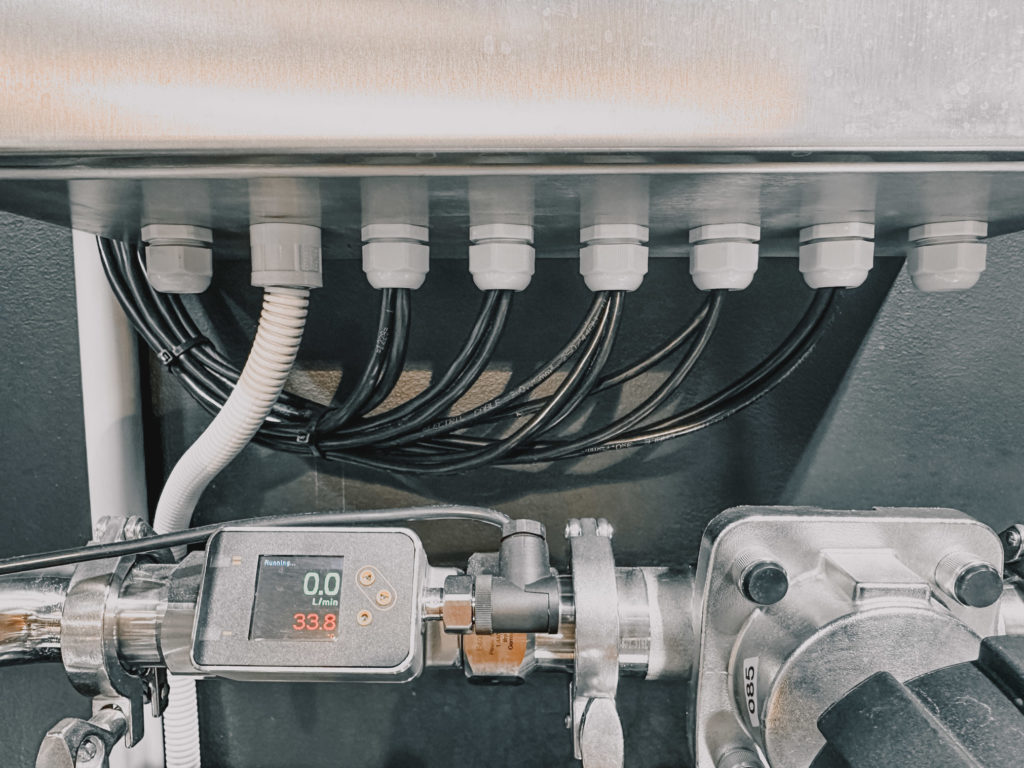
- Power – The cellar control panel runs on single-phase AC power and if just running the glycol valves and temperature controllers, then does not have a large draw. You can usually get away with 1kW of power via a 3 x 1.5mm2 (gauge) core cable. The cores will be running your live, neutral, and ground wires.
- RTDs – Connected via a 3 x 0.5mm2 (gauge) core cable which needs to be run back to the controller panel. Each tank will need a
- Glycol Valves – They are connected via a 2 x 0.5mm2 (gauge) core cable which is a live and neutral wire.
In total from each tank, you will need 5 x 0.5mm2 (gauge) cores coming to the cellar control panel. We have had clients use 2 cables, or we have also had clients use a 5 core cable, but this depends on the proximity of the RTD and the glycol valve.
Bespoke Cellar Control Panel Upgrades
We have implemented the following upgrades to cellar control panels depending on the client’s requirements.
- Glycol Temperature Protection – We can install a “Glycol” temperature controller that connects to an RTD within the glycol reservoir or on the glycol main line to read the glycol temperature. On this controller, you then set the upper threshold of the glycol temperature. For instance, if you set the threshold to 0C (F) and the glycol temperature goes above this then all glycol valves will close and not be allowed to open even if they are calling for cooling. This gives the brewer peace of mind that if the glycol chiller malfunctions or loses power, then your product is protected from warm glycol getting into the jackets and possibly heating up the contents!
- Glycol Circulation Pump Control – We have built units that also control the glycol circulation pump in a variety of ways. We have installed logic for the pump to run only when there is a demand. We have also installed a start-stop timer so the glycol pump runs for a set amount of time and rests for a certain amount of time. This allows the temperatures to stabilize within the tank during cooling and can prevent freezing as we don’t want to make ice baths!
- We always encourage including a spare unit or 2 even beyond planned expansion as having an extra controller or components can be handy in a pinch.
By understanding the basic components and electrical connections or their control panels, brewmasters can optimize their brewery’s performance while minimizing the risk of issues with the control panel. Implementing Bespoke upgrades such as glycol temperature protection or glycol circulation pump control can provide even greater control and peace of mind. With the right setup and maintenance, the cellar control panel can help brewers produce excellent beer with ease and efficiency.
Have a question? Get in touch! Our team of brewing experts would be happy to have a chat with you.
